Capture The Entire Scene With 360 x 180 Degree Panorama
Have you ever wished that you could tape some of your photo album pictures together, so that you could get just one big photograph showing the entire scene?
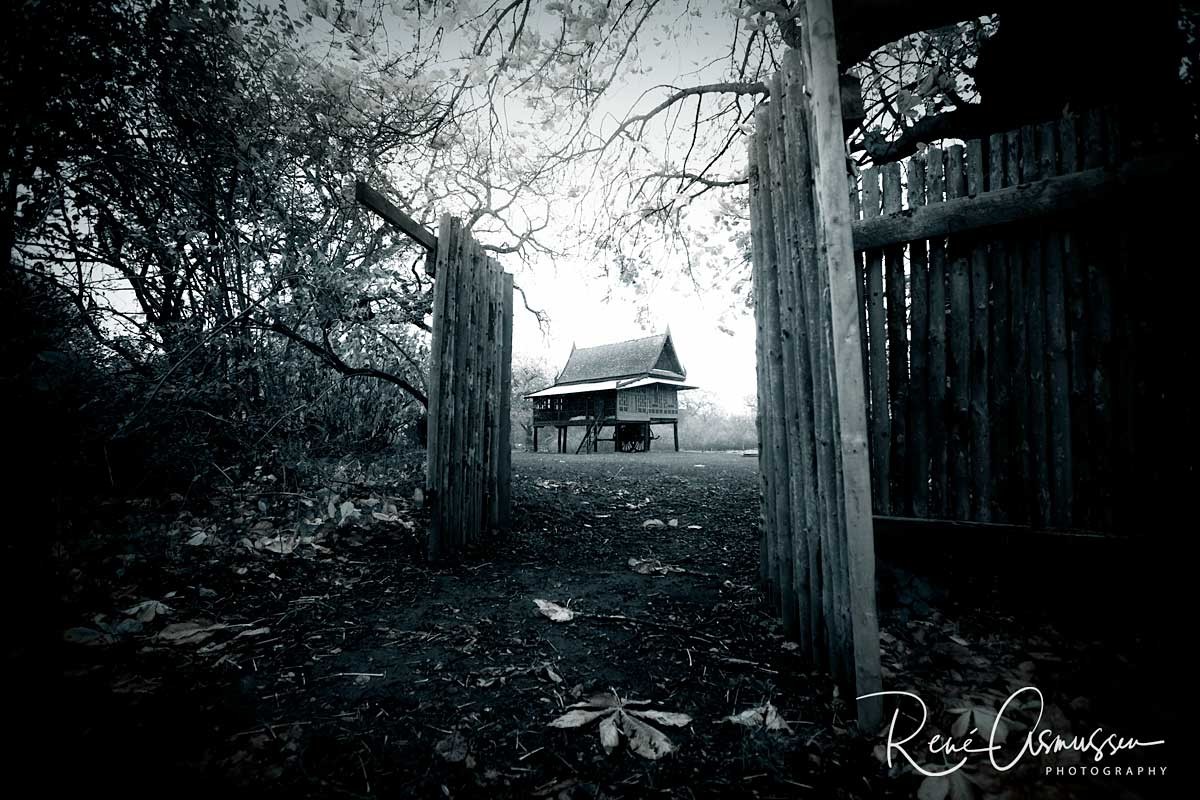
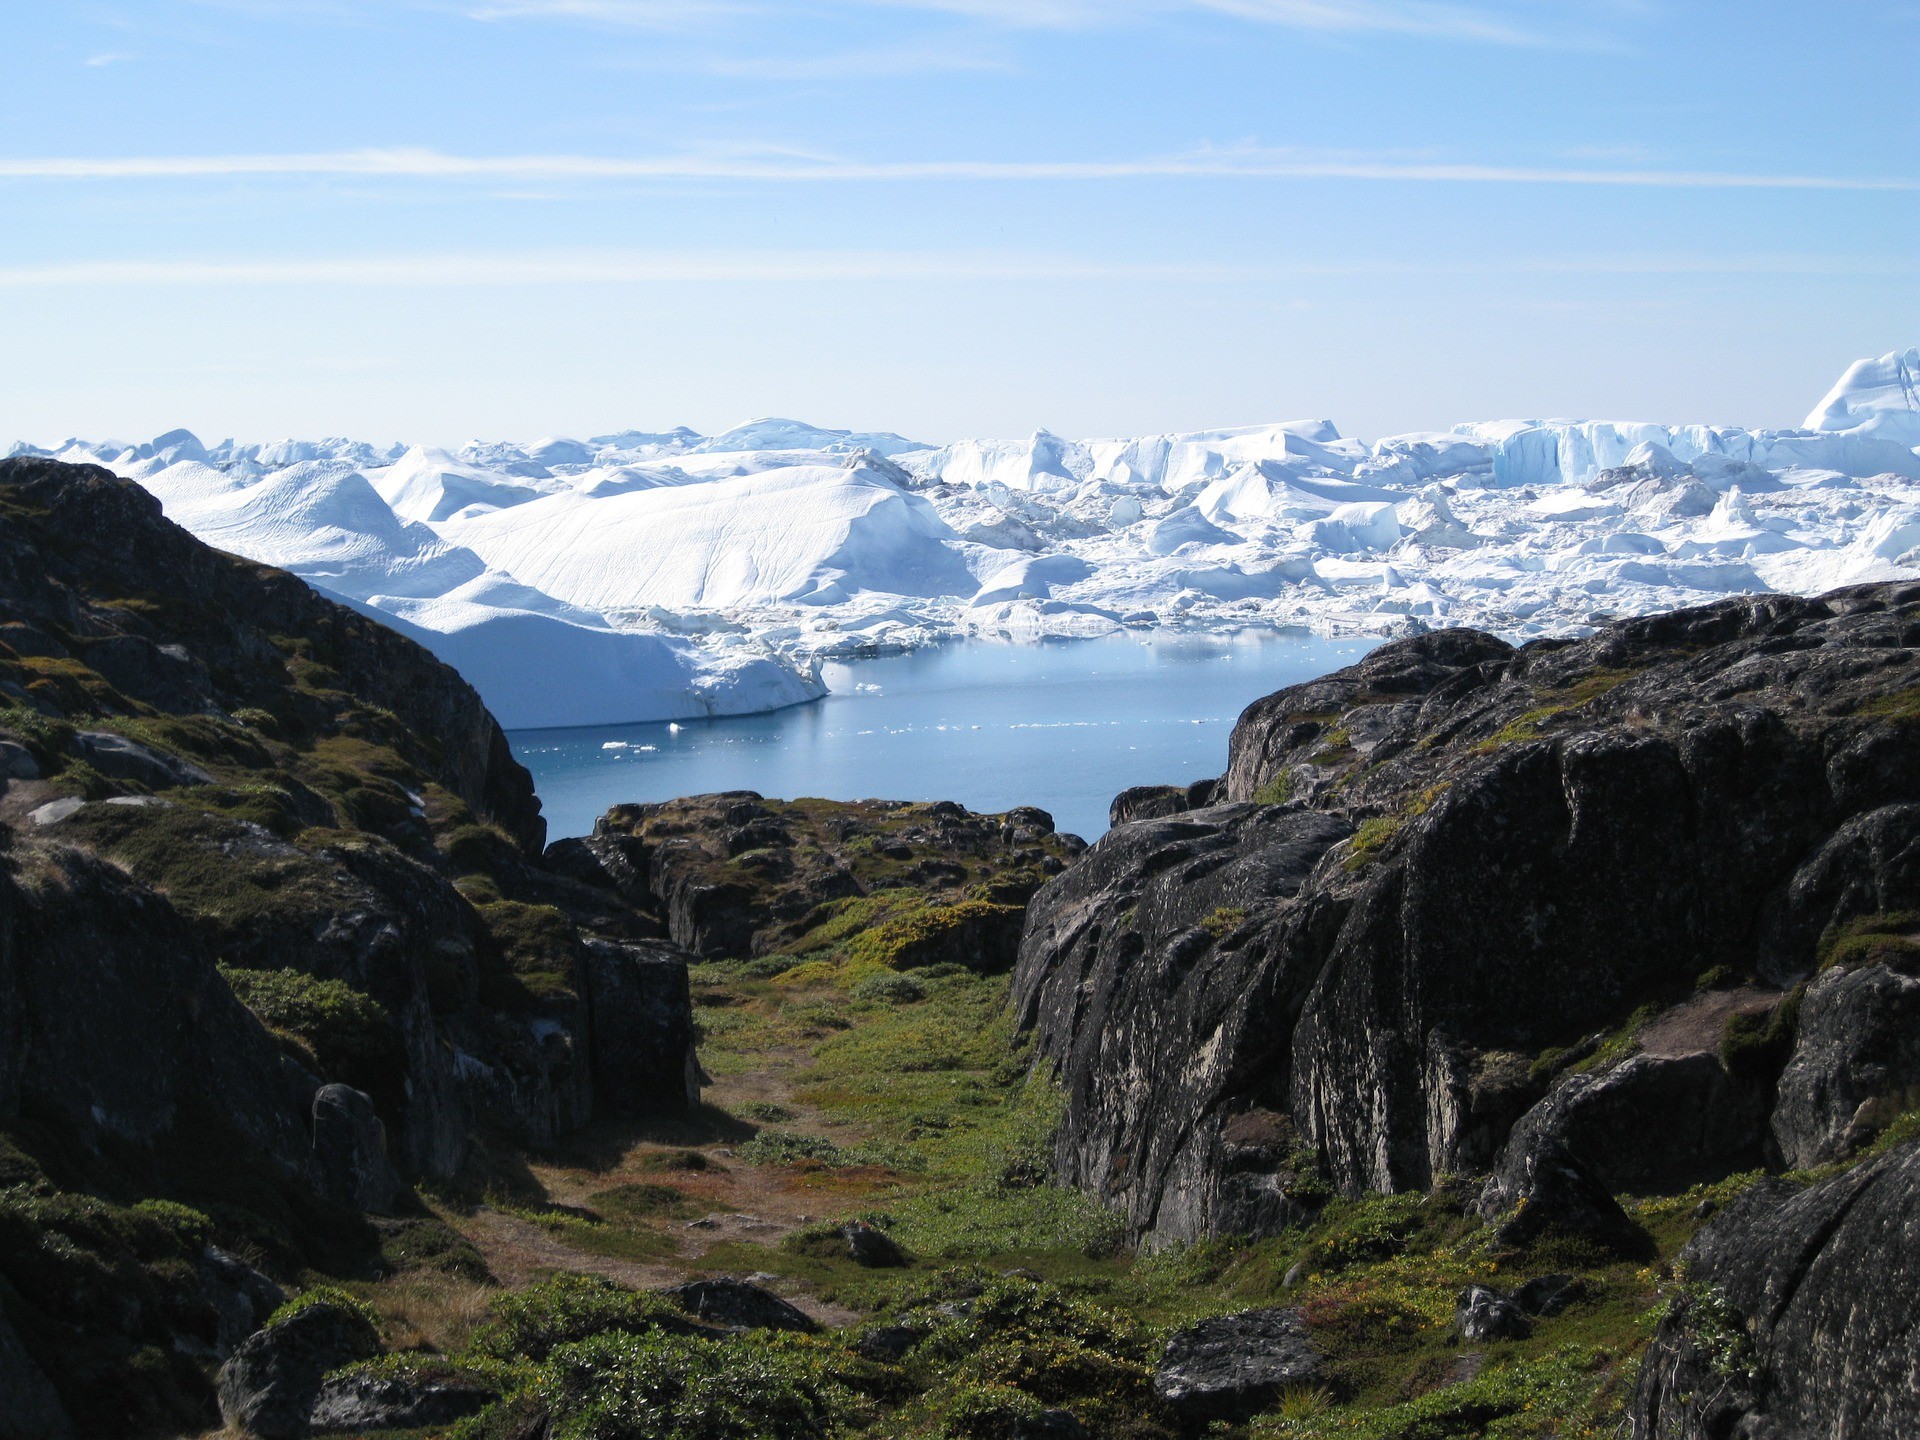
Panoramic photography creates a picture depicting the wide-angle view of a scene or landscape.
Panoramic camera shots display a 180 degree vertical and 360 degree horizontal view of the scene that you want to capture in film. That is why they are called 360 x 180 degree panorama.
Before the digital age, you had to have expensive cameras and equipment to produce panoramic photographs. It required long hours in a darkroom, overlapping exposures and stitching images together.
Stitching is the process of assembling numerous photographs together, into a complete scene, without any seams. With stitching now completed by using computer software, all that you have to do is take the pictures, and follow the directions.
Digital technology and advances in computer software make panoramic photography much easier, when you follow a few general guidelines.
Using Panorama Mode For 360 x 180 Degree Panorama
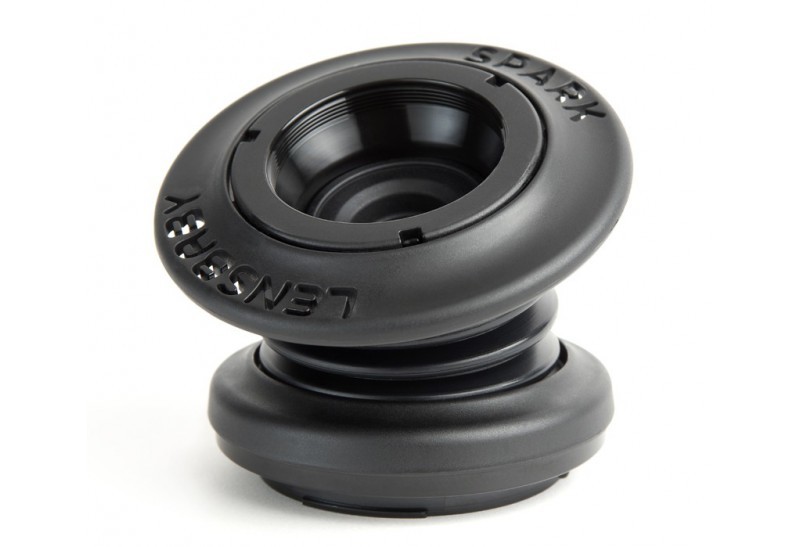
If you have a camera with panorama or sometimes called stitch mode on your camera, use it. By using the panorama mode it will help you to line up your pictures more easily with the subsequent computer software to be used.
This camera mode will also keep the same exposure settings on your shots, so that the picture lighting will remain the same for all pictures, making the software stitching process easier.
If your camera does not come with this mode, don’t panic. A regular DSLR camera works as well, as long as you keep your settings the same for each picture.
You will also have to pay more attention to which part of the scene you are shooting, and how much overlapping you have with the previous picture shot.
-
Use Uniform Camera Levels.
When you take pictures for a panoramic photograph, try to point your camera at the same angle each time you shoot. If you vary the angle greatly, your final panoramic result will look distorted, and the different angled pictures are hard to match up when stitching.
When you shoot multiple pictures for a panoramic photograph, make sure that you have some overlap in each part of the total scene. Usually 15 to 30-percent overlap is safe, and will ensure that there are no gaps in between the scene after stitching.
-
Shoot Horizontally And Vertically.
Do not forget that you can not only pan left and right to shoot photographs for a panorama, but also up and down. As long as you remember to overlap, you can get a really tall and wide area covered.
Learning how to use the computer software to stitch together your photos may be tedious at first, but with practice, you will learn what you did right, and what needs some improvement. If you are a beginner, and follow these most basic guidelines while taking your pictures, you will at least be on the right track initially.
Positive Points Of Panorama.
- Panoramic photographs really capture the scene in a very unique way.
- Instead of showing only one part of your eye’s view, the 360 x 180 degree panorama offers the entire view.
- It is not necessary to buy an expensive camera, or several different lens attachments to do 360 x 180 degree panorama.
- A regular camera can do the job, along with a good software program. It can be fun to create the whole view, and a lot more fun to look at the whole scene, instead of one isolated part.